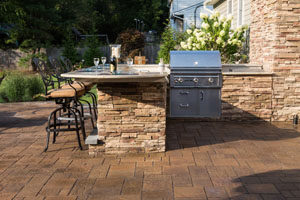
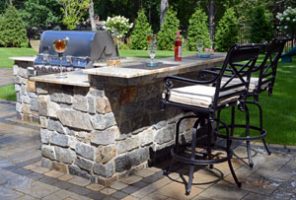
 Fall is officially here! It’s time for football games and breezy afternoon barbecues. If you didn’t give your home the attention it deserved over the summer, use the next few months to make some changes. Building an outdoor kitchen is an excellent way to add function and practicality to your outside space while increasing the value of your home. Outdoor kitchens are becoming more popular, especially for those who love to entertain. With fewer limitations than indoor floor plans, you have a world of possibilities at your fingertips. Wet bars, grills, refrigerators and pizza ovens are just a few examples of what you could add to your kitchen.
Step 1: Find the Right Location
Choose where you want the kitchen to be built, such as on an existing patio or soil. Determine the layout of the kitchen as well. You want it to be functional and easy to move around in, accommodating the chef and your guests. Many people start with a basic island for space, cost and practicality reasons. The best approach is to use chalk or tape to sketch a rough estimate of what you want the kitchen to look like, then see how it will play out in real life.
Step 2: Choose Your Appliances
Your outdoor kitchen can be as simple as a gas grill and counter tops or as elaborate as a wet bar, sink, refrigerator and pizza oven. Decide what types of appliances you want to have in your space and where the counter tops will be positioned. Remember, you can always add on to your kitchen over time, so choose the best appliances for your budget.
Step 3: Select Your Materials
Durability is a prime factor for outdoor kitchens, but you also want materials that are cost effective and low maintenance. Stone veneer is an excellent option. It costs less than natural stone, doesn’t require sealing or painting and is easy to work with because of its weight and ability to be cut through quickly. Also choose a strong countertop that you can cook on, entertain with and protect from weather damage.
Step 4: Execute the Design for you Outdoor Kitchen
Outdoor kitchens have the potential to be DIY, but you can also enlist the help of a professional landscaping company. During the building phase appliances will be installed, and the stacking of the blocks will be completed. The countertop is then installed, and you’ll be ready to fire up the grill!

